Baked yuzu yogurt cheesecake

yuzu yogurt cheesecake 2

I’ve got another amazing yuzu recipe to share. Yes, I’ve gone a bit yuzu mad but I promise that this will be the last yuzu post I will be posting in a long while – till the next yuzu season!

This is a slight modification of my baked cheesecake with berries recipe that I shared earlier. I have replaced the double cream with Greek yogurt to make it slightly lighter and more tangy which I find complements the yuzu.

I love this cake. Very much. The flavour of the yuzu goes well with the creaminess of the cream cheese.  Its texture is both smooth and light at the same time.

Also, I find that this cake seems to be more well-received by people who don’t usually favour cream cheese or dairy heavy desserts.

To fulfill my craving for it, I managed to sneak in a quick baking session on the second morning of the Lunar New Year’s festivities.

And it was the best decision I made that day.
Processed with VSCOcam with f2 preset

yuzu yogurt cheesecake 1

Recipe: Baked yuzu yogurt cheesecake
Adapted from Harumi’s Japanese Home Cooking
Makes a 8 inch spring form cake

This yuzu cheesecake is even lighter than my usual baked cheesecake. I replaced the cream with yogurt and the yogurt’s tangy flavour works well with the yuzu. This is one of my favourite ways to bake with yuzu. 

Ingredients:
For the biscuit base:
140g plain flour
50g granulated sugar
1/4 tsp salt
115g unsalted butter, melted
1/2 tsp vanilla extract

For the cheesecake filling:
250g full-fat cream cheese, room temperature
100g granulated sugar
2 large eggs, room temperature
3 tablespoons sifted plain flour
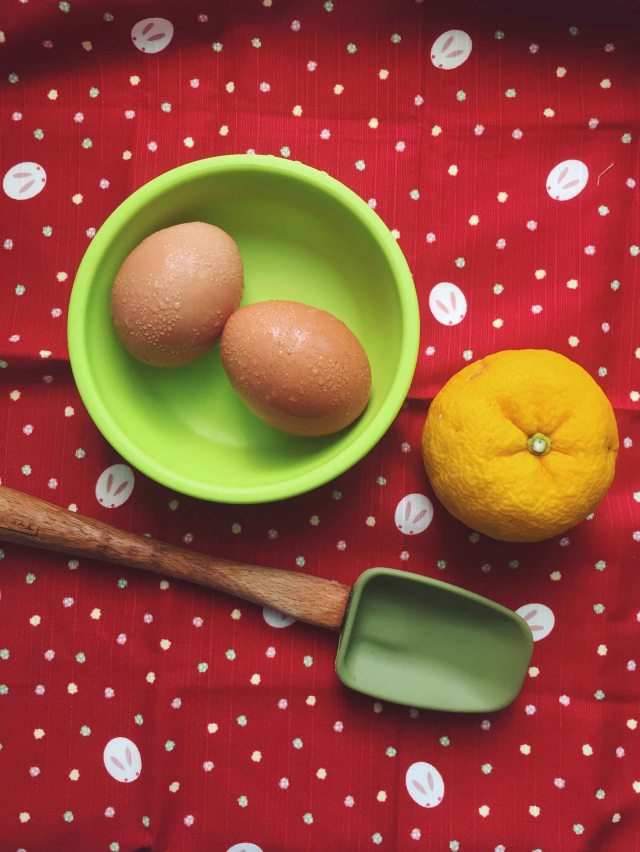
zest of 1 yuzu
1 tablespoon yuzu juice
1/2 tsp vanilla extract
200ml full fat Greek yogurt

Method:
1. Line a spring form cake tin with parchment paper and lightly grease the bottom and sides with butter.
2. Make the biscuit base: In a bowl, mix together flour, sugar, salt, vanilla extract and melted butter until smooth.
3. Transfer this batter into the cake tin. Using your fingers/ the back of a spatula, push the biscuit the base to all corners and making sure it is level. I like a higher biscuit ratio to cake so I like to line the sides of the cake tin as well (about 1 – 1.5cm all round).
4. Bake the biscuit base in a preheated 180 degree celcius oven for about 22 -25 minutes or until golden brown.
5. While the biscuit is baking, you can start to prepare your cream cheese filling.
6. For the cream cheese filling: Cream the cream cheese and sugar with a paddle attachment until smooth, fluffy, scrapping down the sides as you go along.
7. Add in the egg one at a time and mix well to incorporate (on medium speed). Then add in the rest of the ingredients in the order given in the recipe, mixing each one thoroughly first before adding the next. The mixture should be thickened and smooth.
8. Lower the temperature of the oven to 170 degrees celcius and bake for about 50 minutes or until the top is slightly golden brown. The cake should be set in the middle.
9. Transfer the cake to a cooling rack and allow it to cool for about 15 – 20 minutes before running a palette knife around the sides of the tin and transferring the cake out onto a cake board. You can eat it immediately or allow it to chill down completely in the refrigerator before serving.

*Tip: do ensure that your oven temperature doesn’t rise above 170 degrees as yogurt does not like too much heat!
yuzu yogurt cheesecake 3


Posted in Baking, Cakes | Tagged , , , | 8 Comments

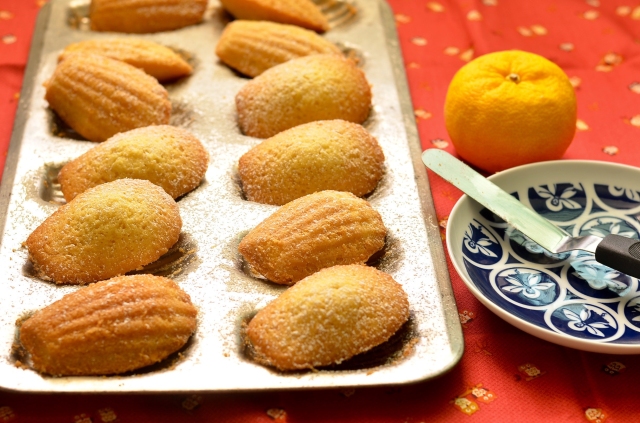
Yuzu madeleines

Yuzu madeleines cover

Winter in Japan can mean many things; one of them is yuzu season. That is something we ought to rejoice in. Yuzu are seasonal fruits grown in Japan only and that makes them really difficult to track down.

As my sister takes her annual pilgrimage to Japan, I’ve gotten her to get me some of the fresh yuzu fruit, and in return, I would make her some lovely yuzu things. Sounds like a pretty good deal, don’t you agree?

Armed with these treasured yuzu, I have since made half a dozen of yuzu panna cotta , two trays of madeleines and a baked yuzu cheesecake.

***

I find these madeleines good enough to be eaten on their own or maybe with the lightest of dusting of icing sugar.

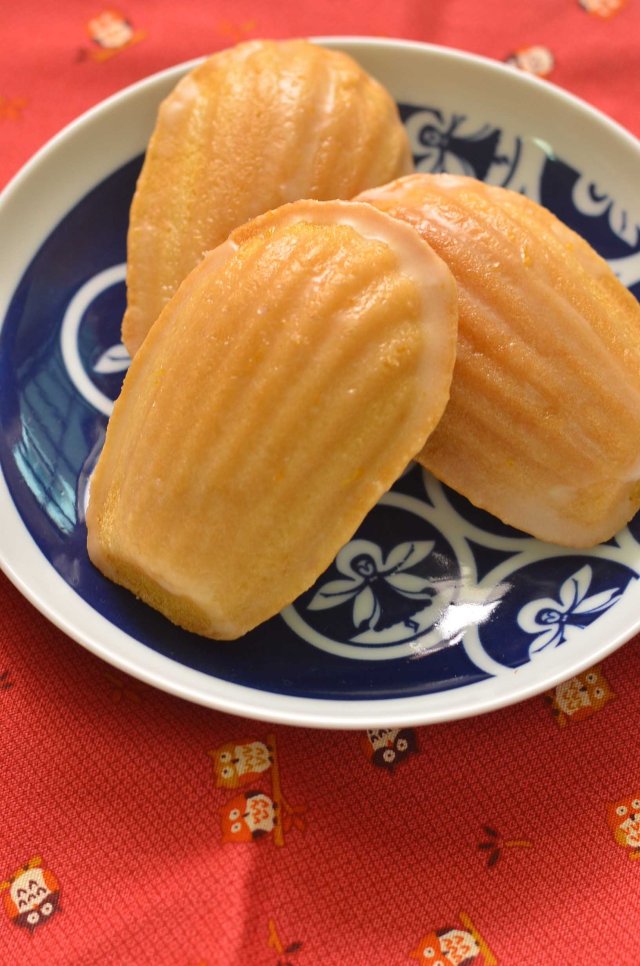
However when they are glazed, the yuzu citrus flavour comes out more pronounced. One word of warning though, the glaze doesn’t keep well in the hot weather in Singapore so you would need to eat it on the same afternoon that you glaze it or it will start melting.

Since madeleines are at their best when they are just out of the oven, still slightly warm to touch, you shouldn’t keep them for too long in any case.


yuzu madeleins 3

Processed with VSCOcam with f2 presetProcessed with VSCOcam with f2 preset


Recipe: Yuzu madeleines

Makes 24 – 28 regular sized madeleines
Adapted from The Ethnic Paris Cookbook by Charlotte Puckette and Olivia Kiang-Snaije

It is important to have the eggs at room temperature before baking so they can be whisked to their full volume. The melted butter should be added in when it is cooled and not hot (to prevent the batter from deflating too much).

I bake them – one in stainless steel tray and another in a non-stick metal one. The stainless steel tray gives you the best result (a more distinct hump, even colour).

You can also check out this matcha madeleines post for its recipe and for more madeleines making tips.

Ingredients:
230g unsalted butter
240g eggs, room temperature
185g granulated sugar
235g  plain flour
zest from 1 yuzu, finely grated
zest from 1/2 lemon
2 tsp baking soda
1/4 tsp salt

Method:
1. Chop up butter into cubes before melting it over low heat. When the butter is melted, let it cool before using.
2. Sift the flour and baking soda and whisk to mix thoroughly.
3. Place the room temperature eggs in a mixer bowl and whisk at medium speed for about 30 seconds.
4. Add in sugar to the eggs and whisk on medium-high speed for about 5-8 minutes until pale, thick. The batter should be at ribbon stage. It is important not to underbeat at this stage.
5. Add in the sifted ingredients in three additions – using a paddle attachment, beat at low speed until just incorporated.
6. Gradually pour in the melted and cooled butter while the mixer is still running. Do not pour all at once if not it will be difficult to incorporate the large amount of butter into the batter. Mix until well-incorporated.
7. Cling wrap the bowl and refrigerate the batter for at least 3 hours or overnight. The batter could be kept in the fridge for up to a few days.
8. Butter your madeleine trays generously especially around the crevices and place the tray(s) in the freezer.
9. Preheat the oven to 180 degrees celcius. Take out the madeleine moulds from the freezer and dust flour over the moulds, inverting the trays to tap our any excess flour.
10. Fill a piping bag and pipe each cavity to about 3/4 full. Since the batter is cold (right out from the fridge), these took about 15 minutes to bake. If you are baking them on the same day of making the batter, they may take a shorter time (check at 10 minutes). The madeleines should be well-risen, with its distinctive hump. The edges should be golden brown.
11. Invert the madeleines onto a wire rack. They should come out easily if you have done a good job at buttering the trays. Best served immediately, dusted with icing sugar, while still warm. Alternatively, you can glaze them lightly with a yuzu lemon glaze.

Yuzu lemon glaze

Ingredients:
150g icing/confectioner’s sugar, sifted
1 tbsp lemon juice
2 tbsp yuzu juice

Method:
1. Stir together the sifted icing sugar with the lemon and yuzu juice. Thin it down with water if you need to. The glaze should be smooth and just thick enough to coat the madeleines and for the excess to run off.

Glazing the madeleines
1. After you have taken the madeleines out from the oven, let it sit in the tray for about 5 minutes before you remove.
2. Dip the madeleines one by one into your glaze while still hot an use the palette knife to ease off any excess.
3. Place the madeleines onto a cooling rack, hump side down, for excess glaze to drip off.

*Storage tip: Eat these immediately or store them in an air-tight container and heat up (only the non-glazed ones) until warm before eating.

yuzu madeleines 2yuzu madelines 1

Posted in Baking, Cakes | Tagged , | 8 Comments

Matcha sablés

DSC_9570

Hi everyone,

I hope that 2016 has been treating you well right from the start. I’m sorry for my lengthy absence. I’ve still been busy in the kitchen but did not have the time to blog.

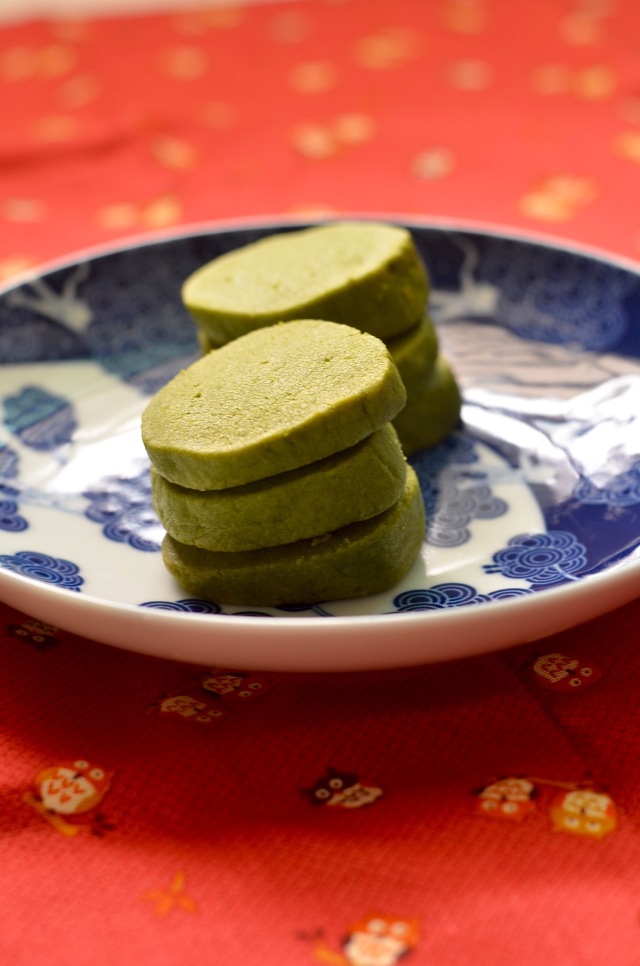
These are some awesome matcha sablés that have stolen my heart right from the moment I put them together. You will most certainly love them if you are a matcha lover. They are crumbly and they packed a punch of matcha flavour.

I’ve made some of these for the upcoming Chinese New Year festivities but judging by its dwindling numbers, I might just have to make another batch soon.

Enjoy these sablés with a cup of Japanese Genmaicha (玄米茶) or brown rice tea or Chinese Tie guan ying (铁观音) and you can be assured that your afternoon is sorted out.

It is a breeze putting together these sablés. Just be sure to take the care you would when making biscuits and sablés and you will be fine. Do also keep an eye on these while baking as you don’t want to over-bake them!


DSC_9577

Matcha sables 2Processed with VSCOcam with f2 preset

Recipe:Matcha sablés
Adapted from Okashi by Keiko Ishida
Makes 40 – 50 sablés

Ingredients:

230g plain flour
10g cornflour
15g matcha powder
pinch of salt
150g unsalted butter
130g icing/confectioner’s sugar, sifted
2 egg yolks
sesame seeds, optional

Method:

1. Sift flour, cornflour, matcha powder, and salt and set it to chill in the freezer while you start on creaming the butter.
2. Cream butter and icing sugar together with a paddle attachment until light and fluffy.
3. Add in egg yolks, one at a time, mixing well to combine.
4. At low speed, add in the dry ingredients in three additions. Mix until just incorporated and forms a dough.
5. Divide the dough into two and cling wrap into logs about 2.5cm diameter. Chill in the refrigerator for about 30 mins or until firm.
6. Preheat oven to 150 degrees celcius.
7. Slice into 5mm rounds and if you are using sesame seeds, place some on each sable.  Bake the sablés (one tray at a time) for about 25 minutes or until firm to touch, until the sides and bottom get a just a hint of golden brown. Take care not to over bake them or they will be too brown.
8. Let them sit on the tray for 5 minutes before transferring them to a cooling rack to cool completely. Best to store them in an air tight container.

Posted in Cookies | Tagged , , , | 2 Comments

Marron glacés (candied chestnuts)

marron glaceI’ve always been very intrigued by those glistening  pieces marrons sitting in big copper pots by a paticceria window, a sight that is so common in Italy especially when autumn  and winter approaches.

I love these morsels ever since I bought one to have from a small paticerria in Sienna while on my honeymoon. It was coated with a candied, almost caramel-like layer giving way to a soft center while still maintaining the beautiful flavours we associate with chestnuts.

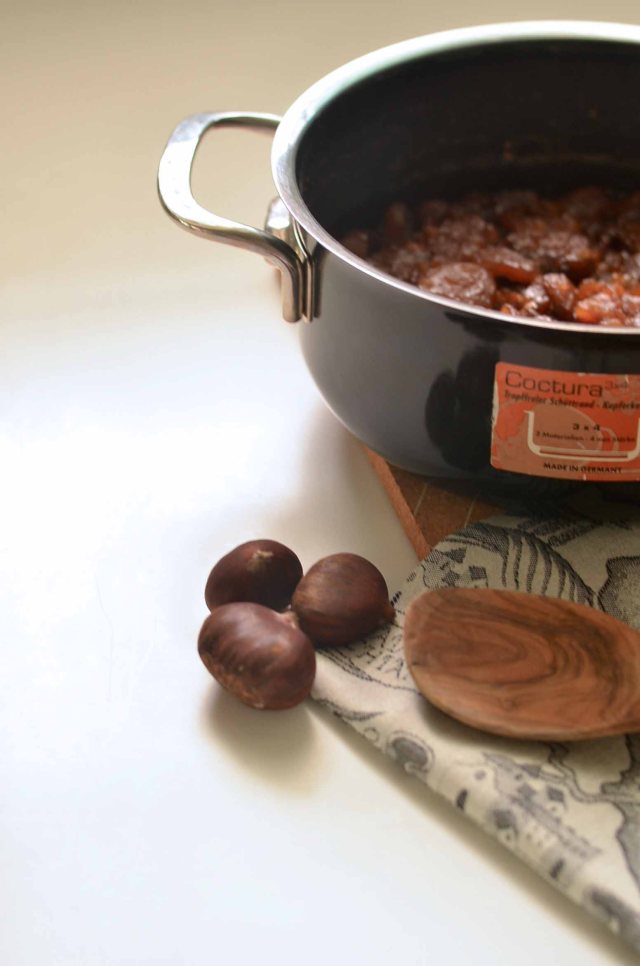
Since that day, I have always thought about making my very own. Thankfully, I manged to get my hands on a kilo of plump chestnuts of the Italian variety and I automatically thought of making these.

Making your own marron glacés isn’t quite the walk in the park – it takes four days from the start to the finish. While that sounds daunting, it actually involves a lot of resting time and more patience than hard work.

I made two batches with the kilo of chestnuts that I have. You see, the first batch had unfortunately broken down to many small piece as I was too careless in the peeling and was stirring the chestnuts way too much till they crumble. But they tasted great and were well-candied.

The second batch fared a lot better and I’ve learnt not to treat these chestnuts with the utmost care and attention and at the same time, not to be too overzealous with the stirring.

So I’m proud to say that after eight days of tempting everyone by the amazing smells of chestnuts cooking in a vanilla syrup, I now have a whole tupperware of candied chestnuts to go around. Thankfully!

It was hard to keep prying hands away from my pot for the whole week because the smell of chestnuts cooking is undeniably one of the best in the world.

Recipe: Marron glacés

I referred to Lorraine from Not Quite Nigella’s post and recipe as a guide to making these candied chestnuts.

Ingredients:
500g whole chestnuts (best to use large, plump chestnuts)
370ml water
370g granulated sugar
1 vanilla bean
1 tbsp glucose, optional

Method:
1. Use a small paring knife to score the flat base of the chestnut with an ‘X’ before boiling them. You need to score it quite deeply  through the skin and membrane. This makes it easier to peel of the skin and hairy membrane.
2. Bring a pot of water to boil. Once it reaches boiling point, place the whole chestnuts in for about 8 to 10 minutes. Turn off the heat and let it stand for about 5 minutes.

3. While the chestnuts are still hot,  use a wire mesh to remove one of the chestnuts and start to peel off both the skin and membrane layer. Then repeat for the rest of the chestnuts, leaving the rest of them in the hot water while you work. This step is easier while the chestnuts are hot.  Work slowly and carefully and try not to break the chestnut. You can use a toothpick to remove the bits of skin that are stuck in between the grooves of the chestnuts.

4. Place the water, sugar and scrapped seeds of the vanilla, as well as the vanilla pod into pot (big enough to hold all the chestnuts and liquid) and bring it to a boil, stirring occasionally to make sure that the sugar is dissolved.

5. Place all the peeled chestnuts into the pot, placing the bigger ones at the bottom and then whatever bits and pieces you have at the top. Do ensure that the sugar syrup covers the chestnuts completely.

6.  Bring the pot to a boil once again, then turn down the flame to a low simmer with the lid on for about 30 minutes. Swirling the pot every now and then. It is best not to stir the chestnuts too much.

6. Turn off the heat and allow the pot of chestnuts to cool back to room temperature while still on the stove.

7.  Repeat this step over the next four days, twice per day,  swirling the chestnuts to ensure they do not stick to the bottom but avoid stirring it too much. Add in the tbsp of glucose if you notice that some crystallization has begun at the sides of the pot before reheating on the second day.

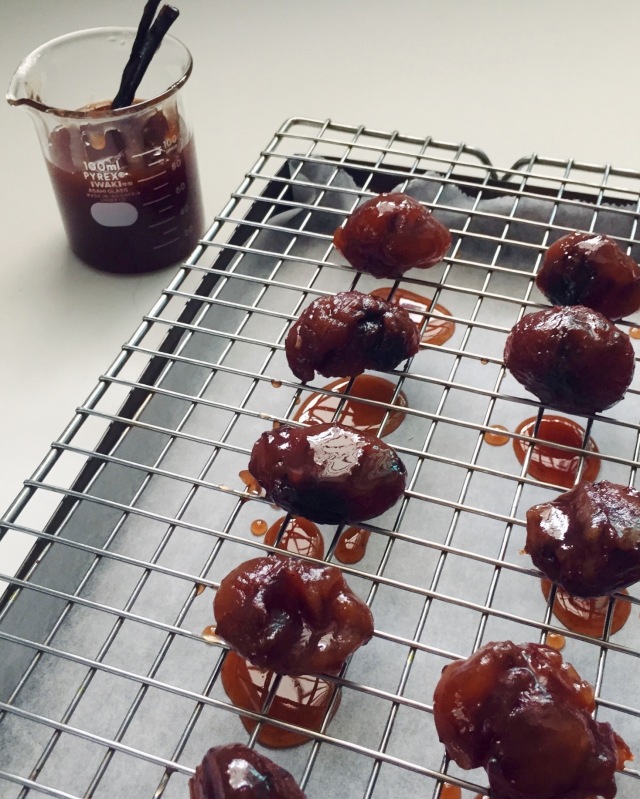
8. The syrup should thicken over the days. The chestnuts should look glossy, almost translucent when lifted up in the direction of light. You can test a small piece of chestnut to check on its doneness on the fourth day. You may need to repeat the step for one or two more times if it is still not ready.

9. When your chestnuts are done, allow them to cool completely in the syrup before lifting them up carefully and placing them on a cooling rack over a parchment- lined tray for the excess syrup to drain off.

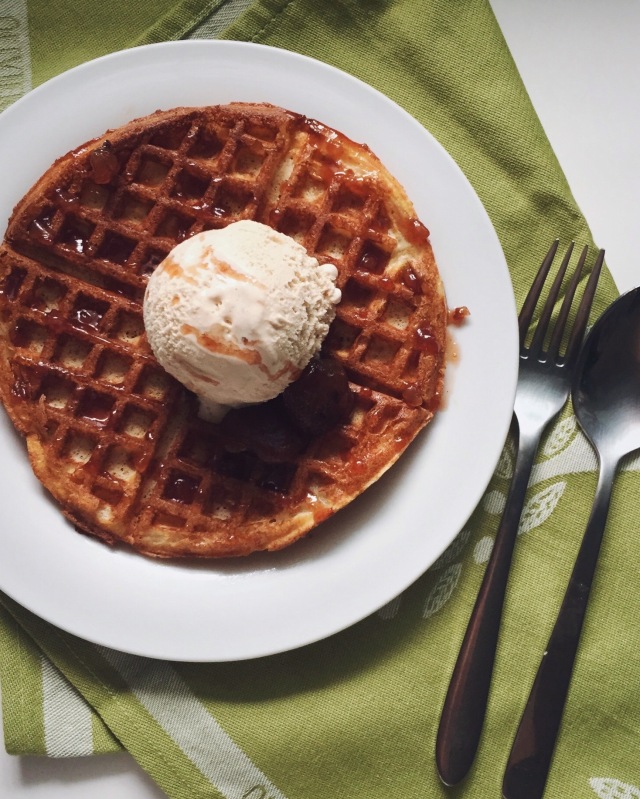
10. Place the candied chestnuts onto small muffin cups and store them in an air-tight container in the fridge. The small bit sized pieces can be used in desserts like in ice-cream, parfaits, or to be topped on top of your breakfast yogurt.  I’ve also kept the remaining “chestnut syrup” to go along with my waffles.


chestnuts marron glace


marron glace2


Posted in Baking, Desserts | Tagged , , , | 7 Comments

Best ever chocolate chip cookies

NY Times chocolate chip cookies

This is my to go to recipe for chocolate chip cookies. I’ve tried plenty of recipes but this is the best one by a long shot. I’ve lost count of the number of times I’ve been baking these chocolate chip cookies and am always very pleased with the results.

I first encountered this New York Times recipe before I left for Le Cordon Bleu and with my limited baking abilities, I already found them to turn out very delicious. After baking them a couple of times, I stored this recipe in my recipe archive and before long, they were forgotten. Has this ever happened to any of you?

I only remembered about them after returning from New York earlier this year.

You see, I was looking to bake some chocolate chip cookies after trying the famed Levain Bakery’s humongous chocolate chip cookies. I didn’t think I would fall head over heels in love with a cookie, and definitely not chocolate chip. When it comes to cookies/biscuits, I love the sablés varierty – buttery, crumbly, incredibly short. And chocolate chip cookies just don’t fall into this category. That was before I had a bite of  Levain Bakery’s chocolate chip cookie.

It was a Spring morning and my friend and I joined the short queue at Levain Bakery after taking a leisurely stroll across a small part of Central Park. My first thought was US$4 for a cookie; you must be crazy. After a bite, I knew that I had to get another one. Because it was a very big and thick cookie – the center was still gooey and oozing lots of chocolatey goodness. I prefer them to a be a little more chewy though.

When I returned, I knew I had to make my own chocolate chip cookie. I tried a couple of recipes before remembering about this one.

I think that this recipe finds the best balance between a chewy and crispy cookie. The edges are crispy and the center is chewy and the rest (48hr is ideal, in my opinion) that you give the cookie dough is absolutely essential in giving the chocolate chip cookie its chewy center. It is not a complicated recipe at all, just one that requires pre-planning and good chocolate.

You would need to follow the recipe and bake the cookies according to this size as this will give the cookies the right texture.

The recipe seem to yield a lot of cookies but trust me, you wouldn’t want to make just== half a batch because they are so additive! In any case, you don’t have to bake all the dough at once; you can always store the cookie dough away in the fridge/freezer for a later date where all you need to do is to bake them.

You can thank me later.


The best ever chocolate chip cookies (NY Times Chocolate chip cookies)
Makes 32 large cookies

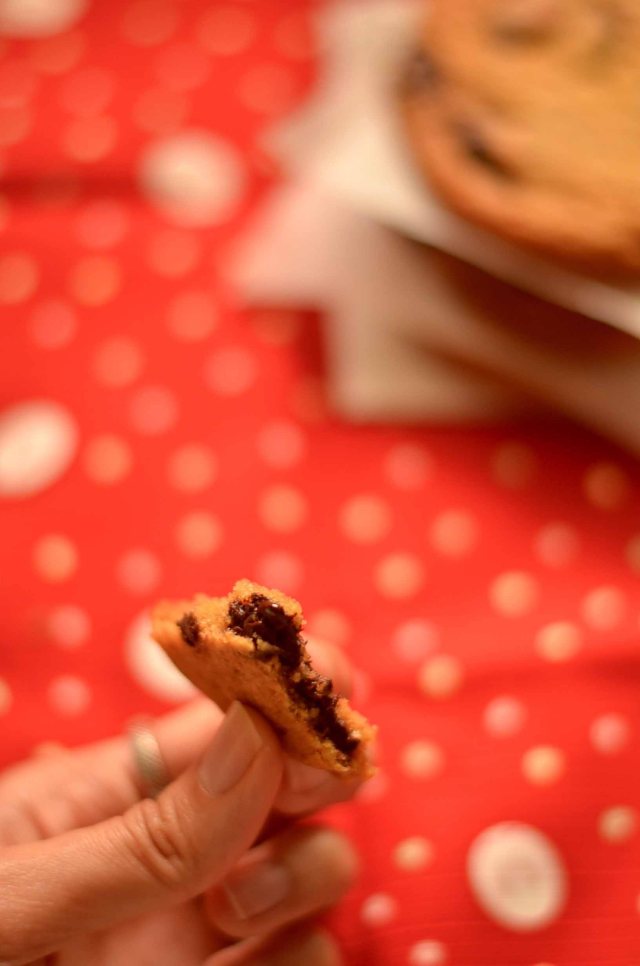
These cookies are the perfect chocolate chip cookies. The cookies have a crisp exterior, giving way to a chewy center and the chocolate chip are still slightly gooey and melts as you bite through the cookie.


Ingredients:

240g Cake flour
240g Bread flour
1 and 1/4 tsp Baking soda
1.5tsp Double acting baking powder
1.5 tsp coarse salt
285g unsalted butter
285g light brown sugar
225g granulated sugar
2 large eggs, room temperature
2 tsp vanilla extract
365g 60% dark chocolate, chopped (or chocolate chips)
additional sprinkling of Fleur de sel

Method:

1. Sift dry ingredients and set aside
2. Cream butter and sugar (both brown and granulated) until light and fluffy for about 5 mins. Add one egg at the time and mix well to combine. Stir in the vanilla extract.
3. Add in sifted dry ingredients at low speed in about 3 additions. Mix until just incorporated.
4. Add in chocolate chunks/chip. Mix in to combine and divide the dough into two or three portions and cling wrap them. Refrigerate the dough for about 24 hr – 36 hr. Dough may be used in batches, and can be refrigerated for up to 72 hours.
5. Using an standard size ice cream scoop, scoop the cookies onto a lined baking tray, giving them room to spread. I only bake 6 cookies per tray. I sprinkle some fleur de sel over the cookies before baking.
6. Bake in a preheated oven at 150 degrees celcius, fan forced oven (or 175 degrees celcius, convection oven) for about 18 t0 20 mins, until golden brown on the edges but still soft. The cookie may seem a bit soft at this point but they will continue to cook and harden as you take it out from the oven to cool for about 10 minutes. Then transfer to a cooling rack to cool further.  Eat them slightly warm with a glass of milk or store the cookies in an air tight container when they are cooled completely.

Chocolate chip cookie bite

Posted in Cookies | Tagged , , , | 5 Comments